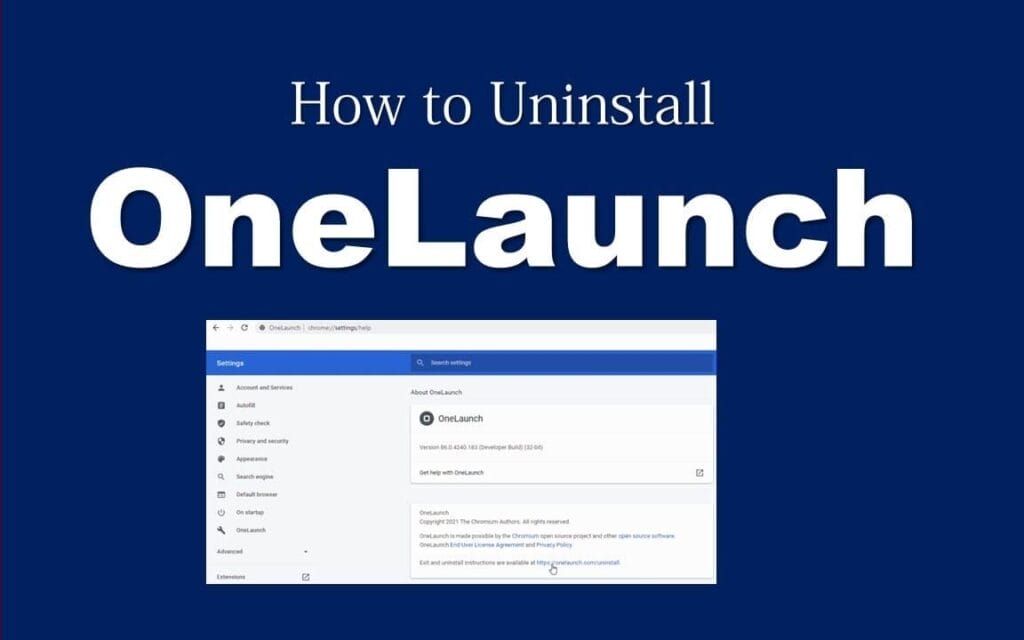
In today’s tech-driven world, decluttering your digital space is essential. If OneLaunch’s unified search bar and quick access icons aren’t your cup of tea, uninstalling it is a breeze! This guide will show you HOW TO UNINSTALL ONELAUNCH Completely, ensuring a streamlined and efficient computer.

Understanding OneLaunch: A Brief Overview
Before diving into the uninstallation process, let’s briefly understand what OneLaunch is. Designed to make your digital life easier, OneLaunch integrates various functionalities directly onto your desktop. However, if it’s no longer serving its purpose for you, removing it might be the best course of action.
Pre-Uninstallation Of OneLaunch Checklist:
Before proceeding with the uninstallation, ensure you have saved all your work and closed any open applications. This precaution prevents any loss of data and ensures a smooth uninstallation process.
“Save your work and close open applications to avoid data loss.”
Uninstallation Methods:
1. Control Panel:
- Press Windows + R, type the control panel, and press Enter.
- Navigate to Programs or Programs and Features.
- Find OneLaunch, right-click, and select Uninstall.
- Follow the on-screen instructions.
2. Windows Settings:
- Press Windows + I to open Settings.
- Go to Apps > Apps & features.
- Use the search bar or scroll to find OneLaunch.
- Click on OneLaunch > Uninstall. Confirm if prompted.
3. Leftover File Cleanup:
- After uninstalling, delete any remaining OneLaunch folders from C:\Program Files.
- Consider using a third-party cleaning tool for thorough registry and temporary file removal.
Troubleshooting Tips:
- Restart your computer if you encounter issues.
- Use a dedicated uninstaller tool if OneLaunch doesn’t appear in the list or throws errors.
Cleaning Leftover Files:
After uninstalling OneLaunch, it’s wise to check for and remove any residual files to ensure a complete cleanup. This can be done by accessing the C:\Program Files\ directory and deleting any remaining OneLaunch folders. Additionally, using a third-party cleaning tool can help identify and remove leftover registry entries or temporary files.
Why Uninstall OneLaunch?
Choosing to uninstall OneLaunch can stem from various reasons, including personal preference, the need for a cleaner desktop, or the desire to streamline the number of running applications on your system. Regardless of the reason, following the correct uninstallation process ensures that your computer remains tidy and performs optimally.
Conclusion
Uninstalling OneLaunch from your computer is a simple process that can significantly impact your system’s performance and organization. By following the steps outlined in this guide, you can ensure a thorough removal of OneLaunch, leaving you with a cleaner, more efficient computing environment. Remember, managing the software on your device is key to maintaining optimal performance and ensuring that your digital workspace aligns with your needs and preferences.
