Blog

  • How to generate art using starryai

    How to generate art using starryai

    Generating art using artificial intelligence (AI) has become increasingly popular in recent years, and one tool that has gained a lot of attention is StarryAI. This platform allows users to create unique, stylized images using a variety of techniques, including style transfer, generating images from text, and creating abstract patterns. In this article, we will explore how to generate art using StarryAI and discuss some of the key features and capabilities of the platform.

    How to generate art using starryai

    What is StarryAI?

    StarryAI is an online platform that allows users to generate art using AI. It was developed by a team of researchers and engineers who are passionate about exploring the intersection of art and technology. The platform utilizes advanced machine learning algorithms to enable users to create a wide range of artistic styles, from realistic to abstract.

    One of the key features of StarryAI is its ability to perform style transfer, which involves taking an existing image and applying the style of another image to it. For example, you can take a photo of a landscape and apply the style of a famous painting, such as the Starry Night by Vincent van Gogh, to create a unique, stylized version of the original image.

    In addition to style transfer, StarryAI also offers the ability to generate images from text. This feature allows users to enter a description or theme, and the platform will generate an image based on the input. For example, you could enter the theme “beach sunset” and StarryAI will generate a stylized image of a beach sunset.

    Finally, StarryAI also offers the ability to create abstract patterns and designs. This feature is great for users who want to experiment with different styles and create unique visual designs.

    How to use StarryAI

    Using StarryAI is straightforward and easy. First, you will need to create an account on the platform. Then, you can choose from one of the three main features: style transfer, generating images from text, or creating abstract patterns.

    For style transfer, you will need to upload an image that you want to use as the base, as well as an image that you want to use as the style. The platform will then apply the style of the second image to the first image, creating a unique, stylized version.

    To generate images from text, you will need to enter a description or theme into the platform. StarryAI will then generate an image based on the input. You can also specify the style of the image, such as realistic or abstract, to further customize the output.

    To create abstract patterns and designs, you can use the “abstract” feature on the platform. This feature allows you to customize the colors, shapes, and patterns of the image. You can also specify the size and resolution of the image to create designs that are suitable for different purposes that how to generate art using starryai

    Key features of StarryAI

    One of the key features of StarryAI is its ability to perform style transfer. This feature allows users to apply the style of one image to another, creating unique, stylized versions of the original images. This is a great tool for artists and designers who want to experiment with different styles and create unique visual designs

    Another key feature of StarryAI is its ability to generate images from text. This feature is useful for users who want to create images based on a specific theme or description. It is also great for users who want to experiment with different styles and see how the platform interprets their input.

    Finally, StarryAI also offers the ability to create abstract patterns and designs. This feature is great for users who want to experiment with different styles and create unique visual designs.

    Conclusion

    In conclusion, starryai is a powerful tool that allows users to generate art using artificial intelligence. By uploading an image or providing a description, starryai can create a unique piece of art that reflects the user’s input. To use starryai, users simply need to create an account and follow the prompts to input their desired image or description. The resulting art can be saved and shared with others, making it a great resource for artists and art enthusiasts alike. Overall, starryai is an easy and convenient way to generate art using AI technology.
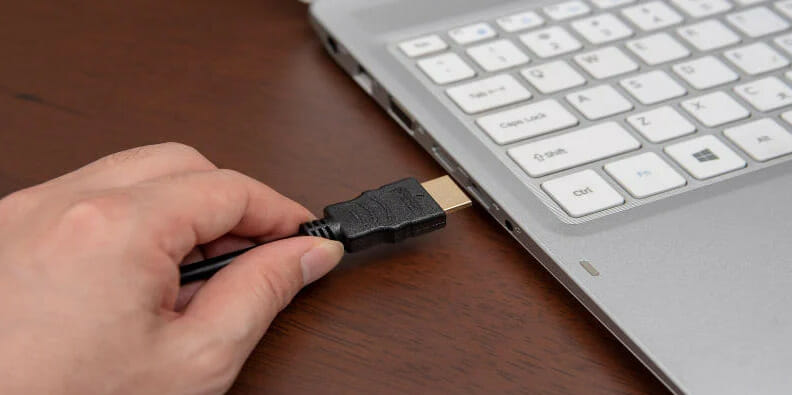
  • How to charge a laptop with HDMI (3 Simple Steps)

    How to charge a laptop with HDMI (3 Simple Steps)

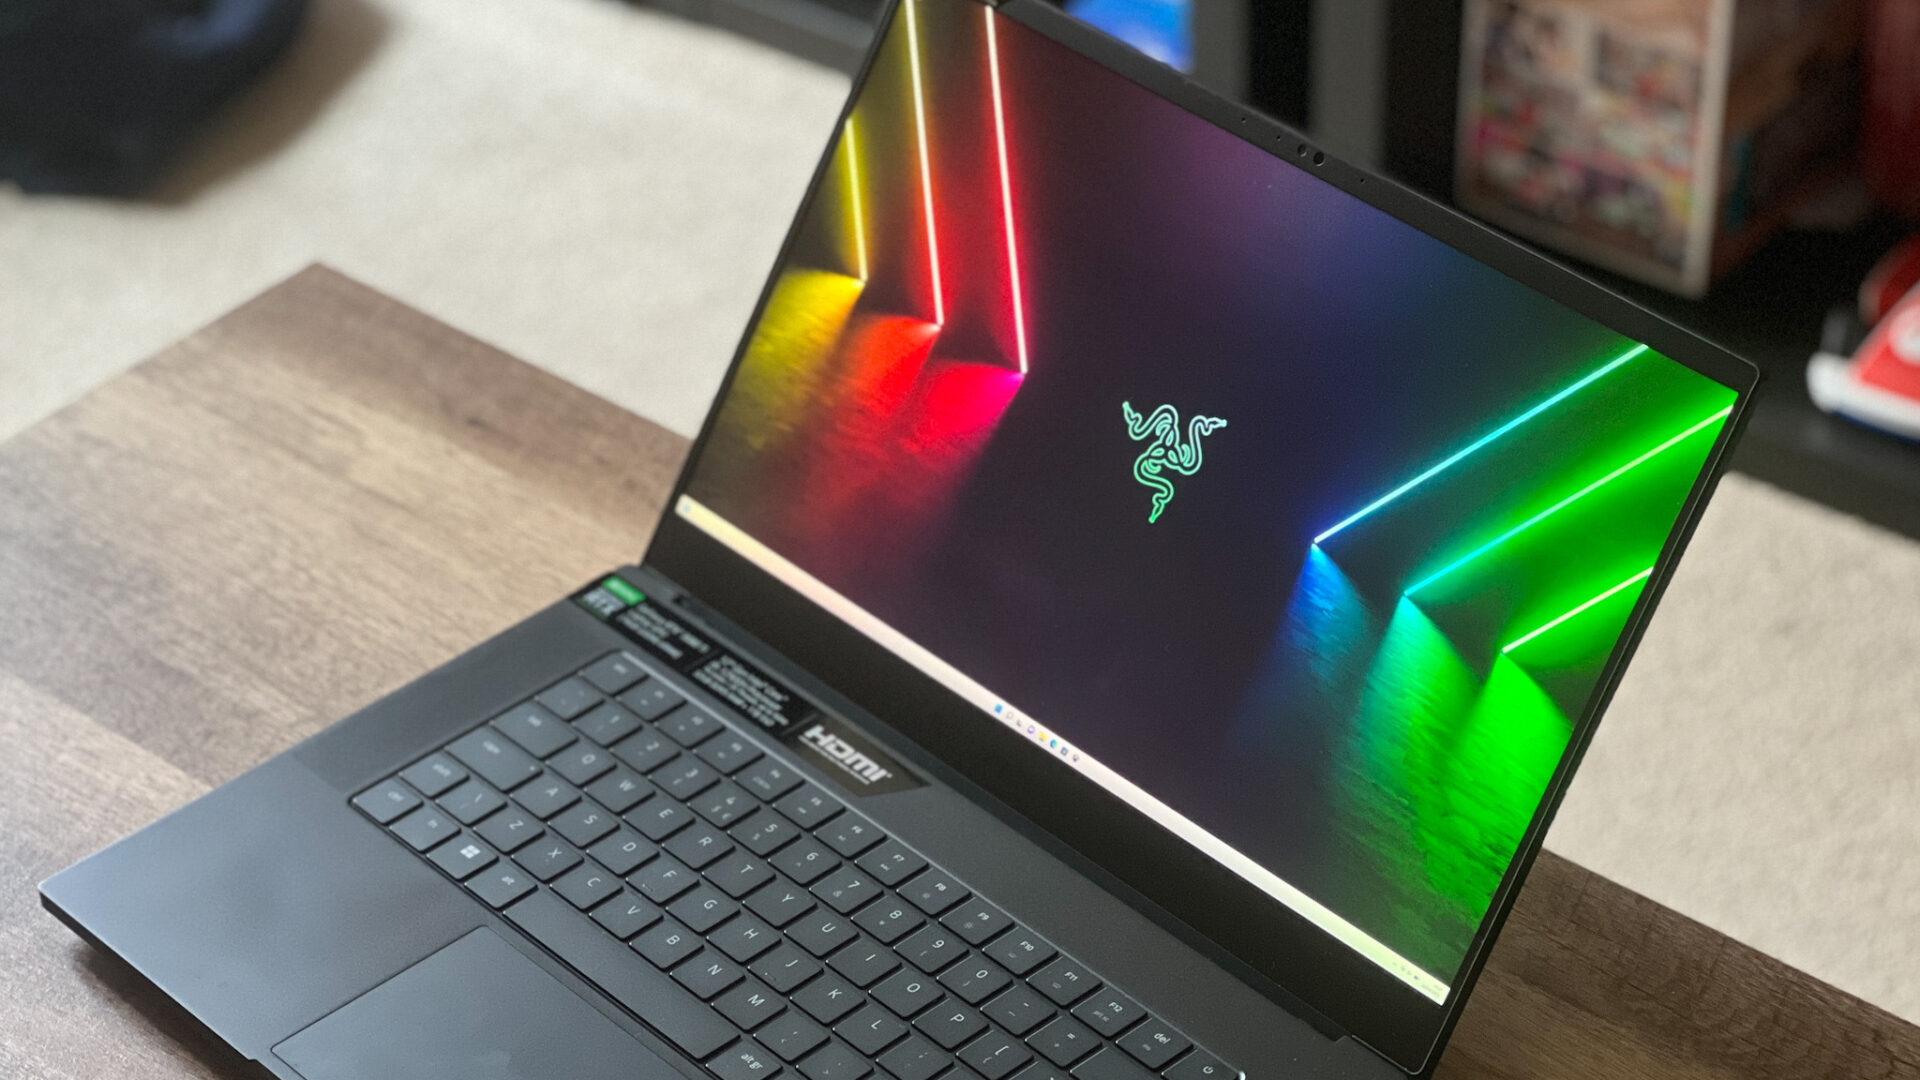
    Laptop charging is very important for your online work but if you’re a traveler or forget to put your laptop charger but you have an HDMI Cable. So, you’re very lucky because you can charge a laptop with your HDMI in this article I’m sharing with you the best method of How to charge a laptop with HDMI So read this article. I hope this article will solves your problem.

    Can we Charge a Laptop with HDMI?

    Yes, you can charge your laptop using an HDMI string. still, it’s important to note that not all laptops are compatible with this system and that you should check your laptop’s specifications before trying to do so. also, charging your laptop via Hamill probably be slower than charging it via an AC appendage.

    Steps to Charge a Laptop with an HDMI Cable

    How to charge a laptop with HDMI you might come across a situation where you need to charge your laptop but the bowl is missing or broken. The first volition would be to use an HDMI string rather.

    Step# 1 First, make sure to check the following Still, there are four criteria necessary a motor, an HDMI string if you want to plug your laptop HDMI string plugged into the recharge outlet. Without these three effects– the connector/ harborage of your bowl and both ends of the cord– you can not charge your laptop through the HDMI harborage.

    Step# 2 The coming step is to connect the HDMI string.
    To connect your HDMI string to your TV, first, plug the HDMI connector into your television. Next, plug one end of the HDMI string into the conterminous connector. However, this is the stylish way to go as you will need to make many fresh purchases If you have a laptop with an HDMI connector. The inverters for this system are known as HDMI- OTG appendages. To charge your laptop with an HDMI line, you will need a Chrome book/ Chrome box with HDMI out or a secondary 12V power force.

    Step# 3 Connect the Device
    When you see the laptop turning on, it means that the charge is working correctly. However, detach the HDMI string and return it until there is a difference, If not. Also, if you are getting static in return, there may be a problem with the power source. To charge your laptop using this approach, you will need the following a television with an HDMI input harborage and an HDMI string *. Connect the HDMI string to the television’s HDMI input harborage and one end of the appendage string to the laptop. The other end of this string should also be plugged into the television’s HDMI input harborage. Laptops generally come with technical charging appendages that regulate the voltage. This voltage and current are what your laptop uses to charge. occasionally it might be a good idea to use HDMI rather than other styles like playing pictures on a large screen or connecting to high-quality audio systems. HDMI transmits low voltage, which may beget a hindrance with other electrical products. Recharging your laptop with an HDMI string is dangerous. I would recommend only doing this if you have no other option to power it. else, you should use the charging appendage that came with your laptop.

    Is it safe to Use an HDMI Cable to Charge a Laptop?

    Yes, it’s safe to use an HDMI string to charge your laptop. still, there are many effects to keep in mind when doing so. First, make sure that the HDMI string is duly connected to both your laptop and the power source. Second, be apprehensive that not all HDMI lines are created equal and some may not be suitable to give enough power to charge your laptop. Third, check with your laptop’s manufacturer to see if they’ve any specific recommendations for charging via HDMI. Following these simple tips will help ensure that you can safely and efficiently charge your laptop using an HDMI string.

    Points to flashback while charging your laptop using the HDMI
    When you are charging your laptop using HDMI, there are many effects to keep in mind

    • Make sure that the string is plugged into both the laptop and the power source.
    • Check that the connection is secure and not loose.
    • If you are using an appendage, make sure that it’s compatible with your laptop.
    • Be careful not to load the harborage by plugging in too numerous biases.
      By following these simple tips, you can charge your laptop safely and efficiently using HDMI.

    Conclusion

    In conclusion, charging a laptop with HDMI string is a great way to save time and plutocrat. It’s also a veritably accessible way to keep your laptop charged while you’re on the go. There are many effects that you need to keep in mind when using this system, but overall it’s a veritably effective way to charge your laptop. still, please feel free to communicate with us, If you have any questions or enterprises

  • What is ChatGPT and How to use it?

    What is ChatGPT and How to use it?

    ChatGPT is an exciting new artificial intelligence (AI) technology that is revolutionizing how people interact with computers. This cutting-edge technology uses natural language processing and deep learning to enable conversations between people and computers. With ChatGPT, users can interact with computers in a more natural way and make the most of their online experience. In this blog post, we will discuss what is ChatGPT and how to use it.

    What is ChatGPT?

    The main question come out is What is ChatGPT and How to use it? ChatGPT is an open-source chatbot framework that is powered by a Transformer-based natural language processing (NLP) model. It is designed to make it easy to create custom chatbot applications, allowing developers to quickly and easily build custom AI solutions for their projects. ChatGPT enables natural language conversations with end users and is able to understand and respond to user queries in real time.

    ChatGPT’s core components include a powerful natural language understanding engine, a deep learning library, and an API layer for developers. The library is built on the Transformer architecture, which allows for efficient training of deep neural networks. This makes it easier for developers to customize the model for their specific use case.

    The API layer of ChatGPT provides a wide range of customization options, such as creating custom intents, entities, and parameters. It also enables developers to create complex conversational flows, while still providing an intuitive user experience. Additionally, ChatGPT allows developers to integrate with external services, such as databases and web APIs.

    ChatGPT has been used to develop virtual assistants, chatbots, customer service bots, and more. It is currently being used by companies around the world to provide automated customer support and chatbot services.

    How to Use ChatGPT

    ChatGPT is an artificial intelligence chatbot powered by natural language processing (NLP). It enables users to create their own conversational AI experience with a simple configuration. It also provides a customizable API for integration with other chat platforms and applications. To use ChatGPT, you need to:

    1. Create an Account: Create an account on the ChatGPT website and log in to your dashboard.

    2. Create a Bot: Create a new bot and name it. This will be the “face” of your ChatGPT conversation.

    3. Configure Your Bot: Configure the various settings of your bot, including its language and the type of conversation that it will engage in. You can also upload training data and train your bot to respond to specific queries.

    4. Publish Your Bot: Once you’re satisfied with your bot’s configuration, publish it so that it can be used by other people.

    5. Monitor Your Bot: ChatGPT provides tools for monitoring your bot’s performance, such as analytics for tracking user conversations and responses.

    6. Connect Your Bot: Connect your ChatGPT bot with other chat services such as Slack, Facebook Messenger, or WhatsApp, or integrate it with other applications like customer support platforms. ChatGPT makes it easy to create and manage AI-powered chatbots. With just a few steps, you can have a functioning conversational AI bot that can interact with your customers, answer questions, and provide valuable insights about your business.

    Features of ChatGPT

    ChatGPT is an innovative, powerful tool for automating customer service and natural language processing. It offers a wide range of features designed to make it easier and more efficient to interact with customers in real time.

    One of the most powerful features of ChatGPT is its deep learning capabilities. This allows it to understand the user’s queries’ meaning and respond with relevant, natural-sounding answers. It can also learn from previous conversations, providing more accurate answers as it becomes more familiar with the customer’s preferences. Additionally, ChatGPT can be used to respond to various types of customer inquiries, including questions about products, services, and even customer satisfaction surveys.

    ChatGPT also offers advanced customization options, allowing users to tailor the platform to their specific needs. For instance, users can adjust the speed at which conversations are conducted and the tone of the responses given. Additionally, users can define specific workflows for customer interactions, so that customers will receive consistent responses for each type of inquiry.

    The platform also includes a comprehensive analytics dashboard that provides insights into how customers are engaging with your business and how you can better serve them. With this dashboard, you can track conversations, identify areas of improvement, and ensure that your customer service operations are running smoothly.

    Pros and Cons of ChatGPT

    – ChatGPT is an AI-powered conversational platform that can help you easily create engaging conversations with customers.

    – It has a range of tools, such as Natural Language Understanding (NLU), natural language processing (NLP), and sentiment analysis, which makes it easy to create a personalized and engaging conversation.

    – ChatGPT also offers a wide range of integrations, such as webhooks and voice assistants, allowing for the seamless integration of your existing customer support systems into the platform.

    – The chatbot builder is intuitive and user-friendly, allowing users to quickly create conversational experiences.

    – ChatGPT may be limited in its ability to handle complex queries or conversations due to its AI technology.

    – It may also lack some of the more advanced features offered by other chatbot solutions, such as natural language generation and deep learning capabilities.

    – Depending on the complexity of your project, additional custom development may be required to take full advantage of the platform.

    Conclusion

    ChatGPT is a powerful tool that provides users with the ability to generate natural-sounding conversations using natural language processing. It is capable of understanding user inputs, creating engaging conversations, and providing accurate responses in real time. With its user-friendly interface, ChatGPT makes it easy for anyone to use this technology and create conversational experiences that can be used in a variety of applications. The Pros and Cons of using ChatGPT depend on the individual’s purpose and need, but overall, it is a great tool that can help people create engaging conversations.

  • How to Create AI Art with Midjourney

    How to Create AI Art with Midjourney

    how to Create AI Art with Midjourney? Have you ever wanted to create your own AI art? Now you can with Midjourney, a revolutionary new platform that makes it easier than ever to create unique and stunning artwork with the help of artificial intelligence. With Midjourney, you can easily generate art inspired by the world around you in just a few simple steps. In this blog post, we’ll explore how to Create AI Art with Midjourney

    Pick an image

    Before you start creating AI art with Midjourney, you need to pick an image. You can either upload an image from your computer or use a URL to reference an image on the web. When selecting an image, make sure to keep it simple and avoid images with lots of small details, as they might be harder to process and result in a less desirable outcome. Additionally, try to select an image with a clear subject and good lighting. Once you have selected an image, you are ready to start the process of How to Create AI Art with Midjourney

    Run the image through the Midjourney algorithm

    Creating AI art with Midjourney is a simple and straightforward process. First, you will need to select an image to use. Once you have picked an image, you can start the AI art creation process by running it through the Midjourney algorithm.

    To do this, open the Midjourney website and click on the “Create Art” button. On the next page, upload your chosen image by dragging and dropping it or selecting it from your computer. You can also choose to apply a filter to the image before running it through the algorithm. After you have uploaded your image, click “Go!” and the algorithm will begin transforming your image into AI art.

    It may take a few minutes for the algorithm to finish processing your image. Once it is done, you will be able to view your AI art in the preview window. If you like what you see, you can then download the image to your device. With Midjourney’s AI art creation tool, creating AI art has never been easier.

    Download the image

    Once you’ve run your image through the Midjourney algorithm, you can download your new AI art directly from the platform. To do this, simply click on the “Download” button located at the bottom of your artwork. This will give you a .png file that you can then post to social media or print as you please. With just a few clicks, you can create amazing pieces of AI art using Midjourney and show off your creative side!

    Post the image

    Once you have completed the first two steps, you can post your AI art to the world. To post your AI art with Midjourney, first, upload the image you have just downloaded. This is easy to do and can be done in a few clicks. Once uploaded, you will be able to choose how you want to share the image. You can post it on social media or share it directly with your friends.

    If you’re feeling particularly proud of your creation, you can even print it out and hang it on your wall. By posting the image, you will be able to show your friends and family what you have created using the Midjourney algorithm. You will also be able to gain feedback from others and get ideas for improving your next AI art project.

    Conclusion

    Creating AI art with Midjourney is an incredibly easy process that yields amazing results. All you need to do is pick an image, run it through the Midjourney algorithm, download the image, and post it on your favorite platform. In a few simple steps, you can create a piece of art that has been designed with the help of Artificial Intelligence. Experimenting with Midjourney’s AI art capabilities can open up a whole new world of creativity and digital art possibilities.

  • How to Make Your MacBook Aesthetic (7 best Method)

    How to Make Your MacBook Aesthetic (7 best Method)

    Having a MacBook can be a great way to show off your tech gadgets and keep up with the latest trends. But having a MacBook that looks aesthetically pleasing can be even better. If you want to spruce up the look of your MacBook, there are a few simple steps you can take to make it look more attractive. In this blog post, we’ll discuss 7 ways to make your MacBook aesthetic. From customizing your desktop wallpaper to changing the color of your MacBook itself, these tips will have your laptop looking like new in no time.

    How to Make Your MacBook Aesthetic

    7 Ways to make your MacBook Aesthetic

    Following are the some methods that can help you how to make your MacBook Aesthetic

    1) Clean Up Your Desktop

    One of the most important ways to make your MacBook aesthetic is to start with a clean and organized desktop. A cluttered and disorganized desktop can be an eyesore and detract from the overall look of your computer. To get started, make sure to delete any unnecessary files and empty your Trash. Then organize the remaining documents and folders into labeled folders or color-coded labels so you can easily find what you’re looking for. Finally, if you have multiple windows open on your desktop, close out the unnecessary ones to free up some extra space. Doing these simple steps will help you start the process of how to make your MacBook aesthetic.

    How to Make Your MacBook Aesthetic

    2) Change Your Wallpaper

    Adding a new wallpaper to your MacBook is a great way to make it look more aesthetically pleasing. Here’s how to make your MacBook aesthetic with a new wallpaper:

    1. Choose a wallpaper that reflects your personality. Look for something that captures your style, but also has some color and vibrancy.

    2. Try to find an image with a high resolution. That way, the details will be sharper when you enlarge it to fit the full screen of your MacBook.

    3. Pick a wallpaper that is not too busy or distracting. You want to be able to see the icons on your desktop.

    4. Install the wallpaper by going to System Preferences > Desktop & Screen Saver. Click on the ‘+’ sign to add the wallpaper from your Photos library.

    5. Once you have added the wallpaper, click on the drop-down arrow next to the image and select “Fill Screen” or “Fit to Screen”. That will ensure that the image looks perfect on your screen.

    By adding custom wallpaper to your MacBook, you can create an aesthetic look that reflects your personality and style. Be sure to choose an image that is high quality and not too busy, so you can still easily access the icons on your desktop.

    How to Make Your MacBook Aesthetic

    3) Set Up Some Aesthetically Pleasing Widgets

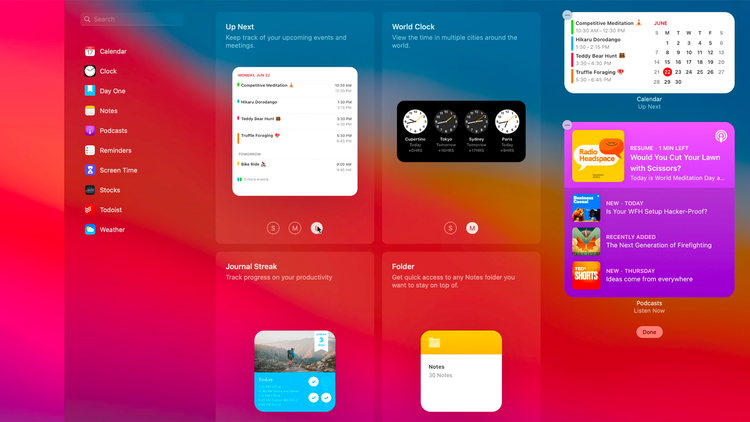
    One of the easiest and most visually appealing ways to make your MacBook aesthetic is to set up some aesthetically pleasing widgets. Widgets are a great way to personalize your device, giving it a unique and attractive look.

    If you’re unfamiliar with widgets, they are mini-applications that provide a range of useful information such as weather, news, and more. You can even use them to keep track of your favorite websites or RSS feeds.

    Setting up widgets on your MacBook is easy – simply go to System Preferences and select Dashboard & Expose. Then click the + button in the bottom left corner to add the widget of your choice. You can also choose from a range of pre-installed widgets or download new ones from the App Store.

    Once you have chosen your widget, simply drag and drop it onto your desktop and position it where you want it to appear. You can customize the look and feel of each widget by clicking the I symbol in the top right corner.

    By setting up some aesthetically pleasing widgets, you can give your MacBook a fresh look and make it much more attractive. Plus, you’ll have access to useful information all in one place. So why not give it a try and see how to make your MacBook aesthetic

    How to make your MacBook Aesthetic

    4) Install Some Cute Themes

    If you want to make your MacBook look even more aesthetically pleasing, consider installing some cute themes. Themes can range from subtle and subdued to bold and eye-catching, and they allow you to customize the look of your laptop with ease.

    To get started, open the Mac App Store and search for “themes.” You’ll find plenty of options available, so take your time to explore the different styles and colors. Once you’ve found the perfect theme, simply click “Download” and it will be installed onto your laptop.

    Once the theme is installed, you can adjust the look of your MacBook to your liking. From adjusting your wallpaper to changing the font, icons, and dock settings, there are endless ways to customize your Mac. Remember to be creative and have fun as you explore how to make your MacBook aesthetic!

    How to make your MacBook Aesthetic

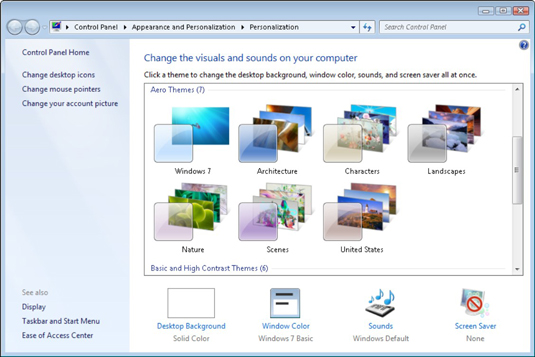
    5) Cool Screen Saver Use

    One great way to make your MacBook more aesthetically pleasing is to set up an eye-catching screen saver. A fun and unique screen saver can help give your device a unique personality and enhance the overall look of your setup.

    To get started, you’ll need to first open System Preferences and then select Desktop & Screen Saver. From here, you’ll have access to a variety of built-in screen savers. If you want something truly unique, however, you can download other screen savers from the Internet that feature stunning imagery, 3D designs, and animations. Whatever style of screen saver you choose, it will be sure to enhance how to make your MacBook aesthetic.

    How to make your MacBook Aesthetic

    6) Add Some Fun Accents

    When it comes to how to make your MacBook aesthetic, you should consider adding some fun accents to your device. Whether it’s a colorful sticker on the lid, a unique case, or a cool laptop sleeve, these accents can make all the difference in the look and feel of your device. If you don’t want to permanently alter the look of your MacBook, you can also get temporary accessories like removable decals or even 3D-printed parts. No matter what type of accent you choose, make sure it reflects your style and personality!

    How to make your MacBook Aesthetic

    7) Show Off Your Personality

    Making your MacBook look aesthetically pleasing doesn’t just have to be about changing colors and themes. You can also use it as a way to show off who you are! Here are some ideas for how to make your MacBook aesthetic and personal at the same time:

    • Choose a laptop skin or case that reflects your style. There are tons of designs to choose from, so take the time to find one that really resonates with you.

    • Add stickers! Stickers are a fun way to add a bit of personal flair to your laptop and make it yours.

    • Invest in some accessories like headphones or a matching mouse pad that will complete the look.

    • Keep your desktop organized, but add a few things that are special to you like pictures of friends or family.

    By following these simple tips on how to make your MacBook aesthetic, you can easily create a unique and personal look that reflects who you are. With a little effort and creativity, you can make sure your MacBook looks and feels truly yours!

    How to make your MacBook Aesthetic

    Conclusion

    Aestheticizing your MacBook can be a fun and creative way to make your device look great. With just a few simple steps, you can make your MacBook look great and help express your personality. Clean up your desktop, change your wallpaper, add some fun accents, and set up some aesthetically pleasing widgets and themes to help make your MacBook look beautiful. Show off your creativity and individuality by making sure that your MacBook reflects your style. With these seven tips, you now know how to make your MacBook aesthetic!

  • How to use canva Ai Image generator

    How to use canva Ai Image generator

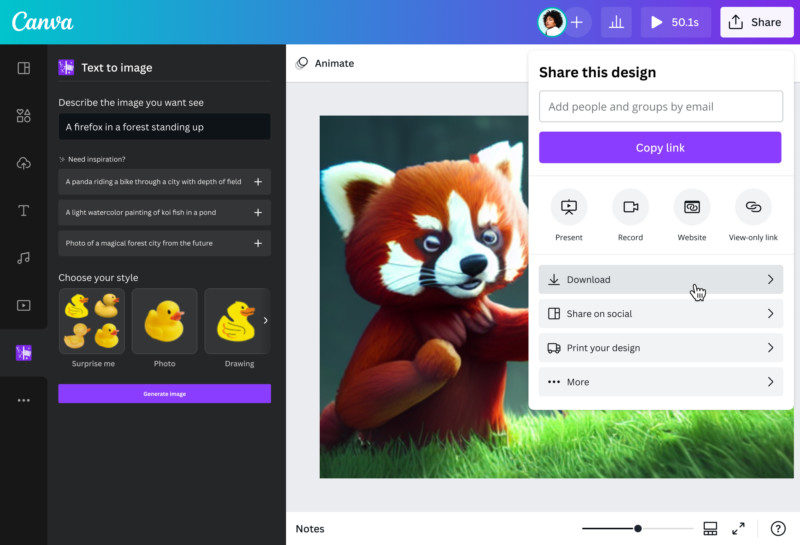
    Are you looking for a quick and easy way to generate unique images for your blog or website? Canva Ai Image Generator is a great option! With this incredible tool, you can quickly create stunning visuals with the help of artificial intelligence. The Ai Image Generator allows you to customize your images with just a few clicks, giving you the creative freedom to express yourself with visuals. In this blog post, we’ll walk you through How to use canva Ai Image generator to create amazing graphics for your blog or website.

    How to use canva Ai Image generator

    What is Canva?

    Canva is an online graphic design platform that allows users to create beautiful designs without any prior design knowledge. With its intuitive drag-and-drop interface and thousands of templates, fonts, and images, anyone can create stunning visuals for social media posts, web pages, flyers, and more. The Canva team has created an AI image generator that automates the design process and makes it easier than ever for non-designers to create amazing visuals.

    What is an AI image generator?

    If you are looking for a way to quickly create professional-looking images for your social media, website, or blog, then you should consider using the Canva AI Image Generator. This tool allows you to quickly create high-quality images with little effort. In this post, we will explore how to use Canva Ai Image Generator to create stunning visuals.

    First, you will need to create an account on Canva. This is free and easy to do, so you can start making images in minutes. After signing up, you will be able to upload your own images or access the library of images that Canva has to offer.

    Once you have uploaded or selected your image, you can use the AI Image Generator to customize your picture. You can apply effects such as color and texture manipulation, face recognition, photo filters, and object recognition. By using these features, you can make an image look more professional and tailored to your needs.

    Next, you can add text and logos to the image by choosing from the provided selection or uploading custom text and logo designs. Once you are finished with your creation, you can save it in multiple formats such as JPEG, PNG, and GIF. This makes it easy to share your image on any platform or device.

    How does it work?

    Canva’s Ai Image Generator is a revolutionary tool that makes it easy for anyone to create beautiful visuals in no time. It eliminates the need for expensive software or a designer’s help – all you need is a Canva account and some creativity!

    The Image Generator works by using Artificial Intelligence (AI) to recognize the content of your text and suggest visuals that are appropriate. All you have to do is enter your text into the generator, and it will create a selection of images that match the context.

    Once you’ve chosen an image, you can edit it to fit your needs. You can change the size, add effects, or even customize it with text and other elements. This allows you to create stunning visuals with minimal effort.

    So if you’re looking for a fast and easy way to generate beautiful images, Canva’s Ai Image Generator is the perfect solution. With its AI-powered technology, you can quickly create visuals that will capture the attention of your audience.

    Conclusion

    Now that you know how to use Canva AI Image Generator, you have the opportunity to create amazing images with ease. With powerful image-editing tools and AI-driven design features, you can take your creative projects to the next level. Whether you are creating a banner for a website, creating an eye-catching social media post, or designing unique visuals for your business, Canva’s AI Image Generator has the tools and features you need to succeed. With just a few clicks, This is how to use canva Ai Image generator you can unlock your creativity and create beautiful designs. Start exploring the possibilities with Canva AI Image Generator today!

  • how to connect airpods to lenovo laptop (Best Guide)

    how to connect airpods to lenovo laptop (Best Guide)

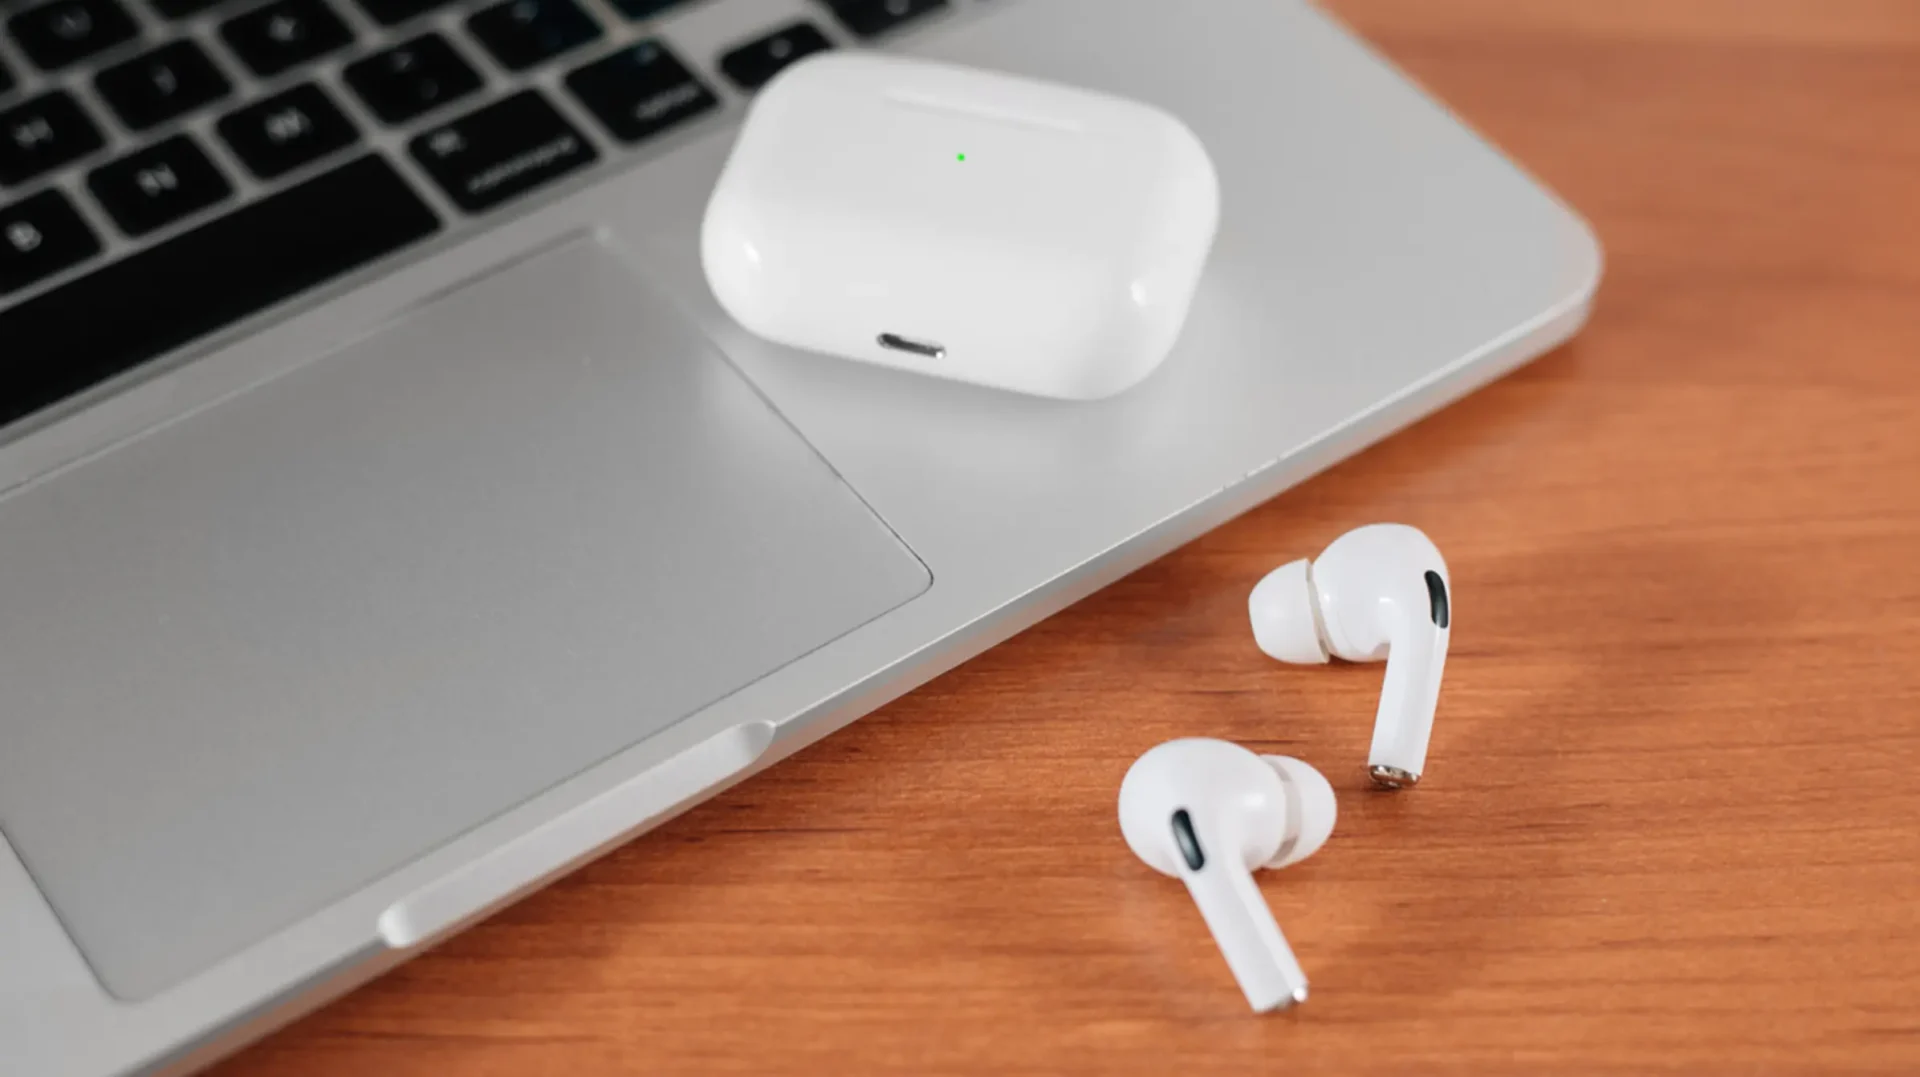
    Do you have a pair of AirPods and a Lenovo laptop but don’t know how to connect them? You’re in luck! In this blog post, we’ll be discussing the steps how to connect airpods to lenovo laptop. With just a few clicks of a button, you’ll be able to wirelessly listen to music, podcasts, and more on your laptop. So keep reading to learn how to connect airpods to lenovo laptop.

    how to connect airpods to lenovo laptop

    Connect airpods to lenovo Laptop

    how to connect airpods to lenovo laptop? Connecting your AirPods to a Lenovo laptop is easy. Follow these steps and you’ll be able to enjoy your AirPods with your laptop in no time!

    1. Make sure that your laptop has Bluetooth capability. You can check if your laptop has Bluetooth by going to the “Devices” section of your computer’s settings menu.

    2. Turn on the Bluetooth feature on your laptop. This can usually be done by clicking on the icon in the system tray, which looks like a wireless signal.

    3. On your AirPods, press and hold the setup button located on the back until the light on the device begins to flash.

    4. On your laptop, select “Add Bluetooth or other device” in the Bluetooth menu.

    5. Select “AirPods” from the list of available devices.

    6. Your laptop should now recognize your AirPods. Once it does, click on “connect” to finish the setup process.

    7. Your AirPods should now be connected to your Lenovo laptop and you should be able to listen to music or audio from any program that you open. Enjoy!

    Tips for Connecting AirPods to a Lenovo Laptop

    Are you trying to connect your AirPods to a Lenovo laptop but don’t know where to start? Don’t worry – it’s easier than you might think! With a few simple steps, you can have your AirPods connected and ready to use in no time. Here are the steps on how to connect airpods to lenovo laptop:

    1. First, make sure that both your AirPods and your Lenovo laptop are powered on.

    2. Next, locate the Bluetooth button or icon on your laptop. This will usually be located in the lower right-hand corner of the keyboard.

    3. Click the Bluetooth button/icon and select “Add Bluetooth device.”

    4. Select your AirPods from the list of devices and click “pair.”

    5. Enter any required codes and confirm the pairing on both devices.

    And that’s it – you’re all set! Your AirPods are now connected to your Lenovo laptop and ready to be used. Enjoy listening to music or chatting with friends on the go!

    Troubleshooting Connection Issues

    If you’re having trouble connecting your Airpods to your Lenovo laptop, don’t worry – it’s easy to do. Here’s how to connect airpods to lenovo laptop:

    1. Go to the Bluetooth settings in your laptop.

    2. Make sure Bluetooth is enabled and turn it on if it is not already.

    3. Select “AirPods” from the list of available devices.

    4. Click “Pair”.

    5. Enter the passcode if prompted.

    And that’s it! You should now be able to listen to audio through your Airpods connected to your Lenovo laptop. If you have any questions or encounter any issues, please reach out to our support team who are happy to help.

    Conclusion

    In conclusion, connecting AirPods to your Lenovo laptop is relatively simple and straightforward. All you need to do is make sure both devices are powered on and Bluetooth enabled, and then use the appropriate method to pair them together. For most laptops, this involves pressing and holding down a specific button until the connection is made. Once connected, you’ll be able to enjoy audio on your laptop through your AirPods.

  • How Long do Gaming Laptops Last?

    How Long do Gaming Laptops Last?

    Laptops have become a popular computing devices for gamers due to their portability and convenience. As technology continues to improve, more gamers are turning to gaming laptops to get the best gaming experience on the go. But one of the most common questions asked by gamers is how long do gaming laptops last? In this blog post, we will explore the answer to this question in-depth and provide advice on how to extend the life of your gaming laptop.

    How Long do Gaming Laptops Last?

    How often should you replace your gaming laptop?

    When it comes to how long do gaming laptops last, there is no definite answer. It largely depends on the quality of the laptop you purchase, how you use it, and how often you maintain it. Generally, gaming laptops can last anywhere from 3 to 5 years with proper maintenance. However, more powerful laptops can sometimes last for up to 8 years if taken care of properly.

    It’s important to note that the lifespan of your gaming laptop is highly dependent on the quality of the components you choose. Investing in high-end components will usually mean that your laptop will last longer than cheaper ones. Additionally, regularly updating drivers and performing general maintenance such as cleaning out dust and debris will help ensure your laptop lasts as long as possible.

    If you’re looking to get the most out of your gaming laptop, you should consider replacing it every few years. This ensures that your laptop is always up to date with the latest technology and can handle even the most intense gaming sessions. Additionally, as gaming laptops become more powerful and efficient over time, upgrading to a new model can give you a noticeable performance boost. Ultimately, how often you replace your gaming laptop depends on your budget and gaming needs.

    What factors affect the lifespan of a gaming laptop?

    When it comes to purchasing a gaming laptop, many consumers have one burning question: how long do gaming laptops last? Here, we explore what affects the lifespan of a gaming laptop and how to maximize its life expectancy.

    First, it’s important to understand the basic components of a gaming laptop and how they affect performance. To keep up with the demands of today’s latest games, many gaming laptops come with high-end processors, RAM, graphics cards, and other hardware components. In order for them to last as long as possible, these components need to be of high quality and well-maintained.

    The amount of use a laptop receives will also affect its lifespan. Even if a laptop is equipped with top-of-the-line components, it will start to degrade over time due to wear and tear from daily use. Gamers who play for hours at a time should pay close attention to temperature control and heat management systems to avoid overheating their laptop and shortening its life expectancy.

    Finally, software updates can extend the life of a gaming laptop. Manufacturers are constantly releasing software updates that contain bug fixes and performance enhancements. By keeping up to date with the latest patches, users can maximize their laptop’s performance and minimize potential problems in the future.

    How to make your gaming laptop last longer

    As a gamer, you want to make sure your laptop is able to handle the demands of your gaming sessions for as long as possible. But how long do gaming laptops last?

    The answer depends on a few key factors. First, the hardware you choose will play a role in how long your gaming laptop lasts. Most gaming laptops feature components that are designed to be powerful enough to handle the most demanding games, but not necessarily made to last over time. As a result, you may find yourself replacing or upgrading parts of your laptop sooner than expected.

    In addition, how well you take care of your gaming laptop can impact its lifespan. Be sure to keep it away from any liquids and dust, as well as excessive temperatures, in order to keep your system running smoothly for as long as possible. Additionally, keep the software up to date by regularly updating drivers and installing the latest game patches. Doing so will help ensure your laptop is running optimally and won’t suffer from any compatibility issues.

    Finally, if you’re hoping to get as much life out of your gaming laptop as possible, consider investing in an extended warranty plan. This will give you peace of mind knowing that if something goes wrong with your laptop, it’s covered by a professional repair team.

    In summary, how long do gaming laptops last largely depends on the hardware you choose and how you maintain it. By investing in quality components and taking good care of your laptop, you can get years of use out of it.

    Conclusion

    When it comes to determining how long do gaming laptops last, the answer can vary from laptop to laptop. The longevity of a gaming laptop depends on many factors such as the type and quality of components used, the amount of use it gets, and the maintenance done on the device. Generally speaking, a gaming laptop that is well maintained and has high-end components can last anywhere between 5-10 years. On the other hand, if a laptop is used heavily or does not receive adequate maintenance, it could fail much sooner than expected. To ensure that your gaming laptop lasts as long as possible, we recommend having your device serviced regularly to prevent any major malfunctions from occurring. Additionally, consider investing in a reliable laptop cooling system to prevent your laptop from becoming overheated due to heavy gaming sessions with proper care and maintenance, you can keep your gaming laptop running in top condition for many years to come.

  • Are Gaming Laptops Good for Everyday Use?

    Are Gaming Laptops Good for Everyday Use?

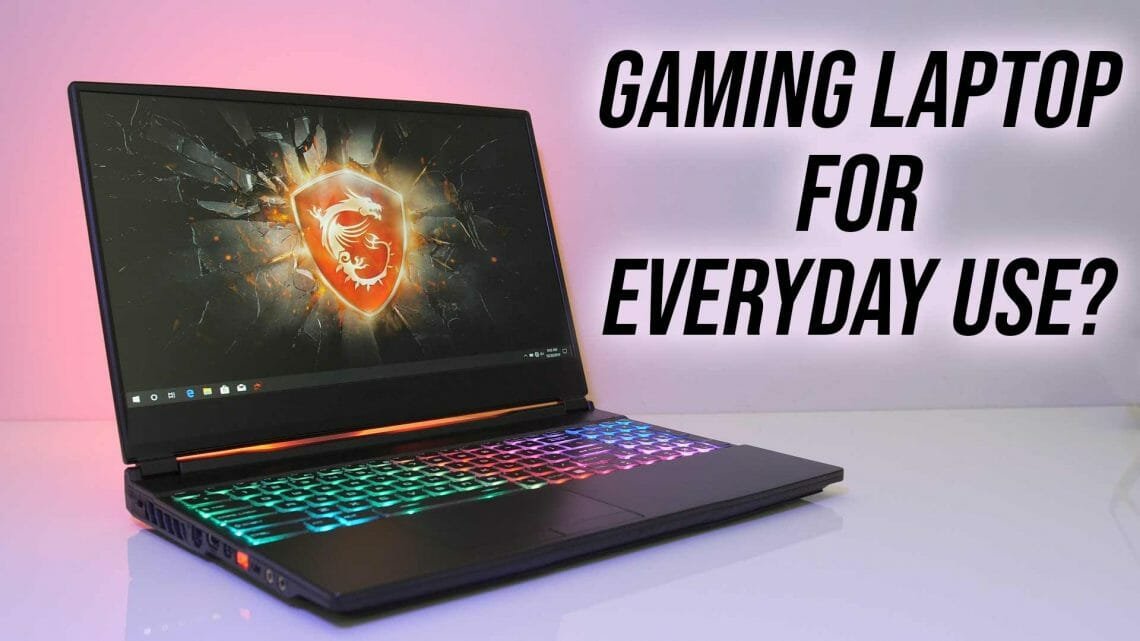
    Are gaming laptops good for everyday use? This is a question that many laptop users are asking. Gaming laptops are specially designed with powerful processors, top-of-the-line graphics cards, and other advanced components that make them ideal for playing the latest video games. But can these same laptops be used for everyday tasks like web browsing, watching videos, and other general computing needs? In this blog post, we will explore the pros and cons of gaming laptops and whether they are suitable for everyday use.

    They’re built for heavy use

    Gaming laptops are more than capable of handling everyday tasks. They’re built for heavy use and feature powerful components such as dedicated graphics cards and larger hard drives than traditional laptops. This means that gaming laptops can easily handle video editing, photo editing, and other intensive applications without lag or stuttering.

    Plus, gaming laptops tend to have more ports than traditional laptops, making it easy to connect external storage devices, printers, and other peripherals. And with strong cooling systems, you won’t have to worry about overheating even when using your laptop for long periods.

    So don’t be afraid to buy a gaming laptop for everyday use – they’re designed to handle all kinds of tasks. Whether you’re an avid gamer or just need a reliable laptop for everyday activities, gaming laptops are an excellent choice!

    The hardware is top of the line

    When it comes to the question Are gaming laptops good for everyday use? the answer is a resounding yes. Gaming laptops are not just great for gaming; they are also perfect for everyday computing.

    One of the biggest reasons why gaming laptops are great for everyday use is the hardware that comes with them. Gaming laptops feature top-of-the-line processors, graphics cards, and RAM, making them some of the most powerful laptops available on the market. With these components, users can easily run even the most demanding applications and games with ease.

    The display screens on gaming laptops are also top-notch. They offer vibrant colors and high resolutions, which makes viewing images, videos, and other media content a great experience. The displays are also usually big enough to make multitasking a breeze.

    The battery life on gaming laptops is also quite impressive. Many gaming laptops have large batteries that can last for hours at a time on a single charge. This makes it ideal for those who need to take their laptop with them wherever they go.

    Overall, gaming laptops offer excellent performance, an outstanding display, and long battery life, making them perfect for both gaming and everyday use. So if you’re looking for a laptop that can do it all, a gaming laptop may be just what you’re looking for.

    The software is made for gaming

    To get an idea of how a gaming laptop would suit your needs, it’s helpful to understand what makes them different from other laptops. Most importantly, gaming laptops are equipped with specialized software designed specifically for playing video games. This type of software is designed to reduce lag and make games look and play smoother. It’s also designed to provide easy access to all of the gaming controls, so you don’t have to fumble around with different menus and settings to get the game up and running.

    In addition to having specialized software, gaming laptops also feature more powerful hardware than most laptops. These components allow them to run newer and more demanding games with higher framerates and graphics quality. Additionally, gaming laptops often feature dedicated graphics cards, meaning they can process visuals faster than a standard laptop. This allows them to handle more advanced graphics and effects.

    The downside of gaming laptops is that they’re often heavier and bulkier than regular laptops. They also tend to have shorter battery life than their non-gaming counterparts due to the power requirements of their hardware. Also, since they’re designed primarily for gaming, they may not have some of the features found in more general-purpose laptops, such as document creation and presentation tools.

    At the end of the day, whether or not a gaming laptop is suitable for everyday use depends on your needs. If you’re looking for something that can play the latest games and deliver a great visual experience, then a gaming laptop is a great option. However, if you’re looking for something that can handle simple everyday tasks like web browsing or document editing, then a traditional laptop may be a better choice.

    The cooling system is made for gaming

    When considering whether or not a gaming laptop is good for everyday use, one of the most important aspects to look at is the cooling system. Most gaming laptops come equipped with specialized cooling systems designed to support intensive gaming sessions. This means that the laptop can dissipate the heat generated by powerful processors and graphics cards more efficiently than a traditional laptop would be able to. As a result, gamers who opt for gaming laptops can rest assured that their machines are well-suited to running games without suffering from overheating issues.

    However, the same cooling systems can also be beneficial for those who want to use their gaming laptops for everyday tasks such as web browsing or word processing. The additional cooling provided by gaming laptops ensures that their hardware will continue to perform reliably even when put under sustained workloads. This makes gaming laptops an ideal choice for those who want reliable performance in their everyday computing tasks.

    In conclusion, the answer to the question Are gaming laptops good for everyday use? is a resounding yes! With the improved cooling capabilities of gaming laptops, users can rest assured that their devices will handle even the most intensive tasks without overheating. Therefore, if you are looking for a laptop that can handle both gaming and general computing tasks, then a gaming laptop is a great option.

    The battery life is shorter than average

    When it comes to whether Are Gaming Laptops Good for Everyday Use? one of the biggest drawbacks is their battery life. Gaming laptops tend to have shorter battery lives compared to traditional laptops, due to their more powerful hardware and higher performance needs. Even when not in use, the more powerful hardware still uses up a lot of battery power, which can be a major issue for those who need to use their laptop away from a power source for extended periods. So if you are someone who needs to take their laptop on the go, a gaming laptop might not be the best choice.

    The price is higher than average

    If you’re looking for a laptop for everyday use, you might be better off opting for a more cost-effective model that has the necessary specs for running everyday applications and programs. That said, gaming laptops do come with some advantages. They often offer superior performance and may even come with features such as higher-resolution displays and increased memory capacity.

    Ultimately, it’s up to you to decide whether a gaming laptop is worth the price for your everyday needs. If gaming is a big part of your life and you need a laptop that can keep up with your needs, then a gaming laptop might be the right choice for you. However, if you’re looking for a budget-friendly option that can handle everyday tasks, then a standard laptop may be a better option.

    Conclusion

    When it comes to the question of Are gaming laptops good for everyday use? the answer is a definite yes! While gaming laptops tend to be more expensive than regular laptops, they offer features and performance capabilities that make them well worth the price. Not only do they offer high-end hardware that can handle almost any computing task, but they also have features like large displays and powerful audio that can enhance your experience when gaming or streaming content. In addition, their long battery life and portability make them great for taking on the go. So if you’re looking for a laptop that can keep up with your daily tasks and provide you with the best gaming experience possible, a gaming laptop is the way to go!

  • Why Can’t I Watch Disney Plus on My Macbook? (5 Simple method)

    Why Can’t I Watch Disney Plus on My Macbook? (5 Simple method)

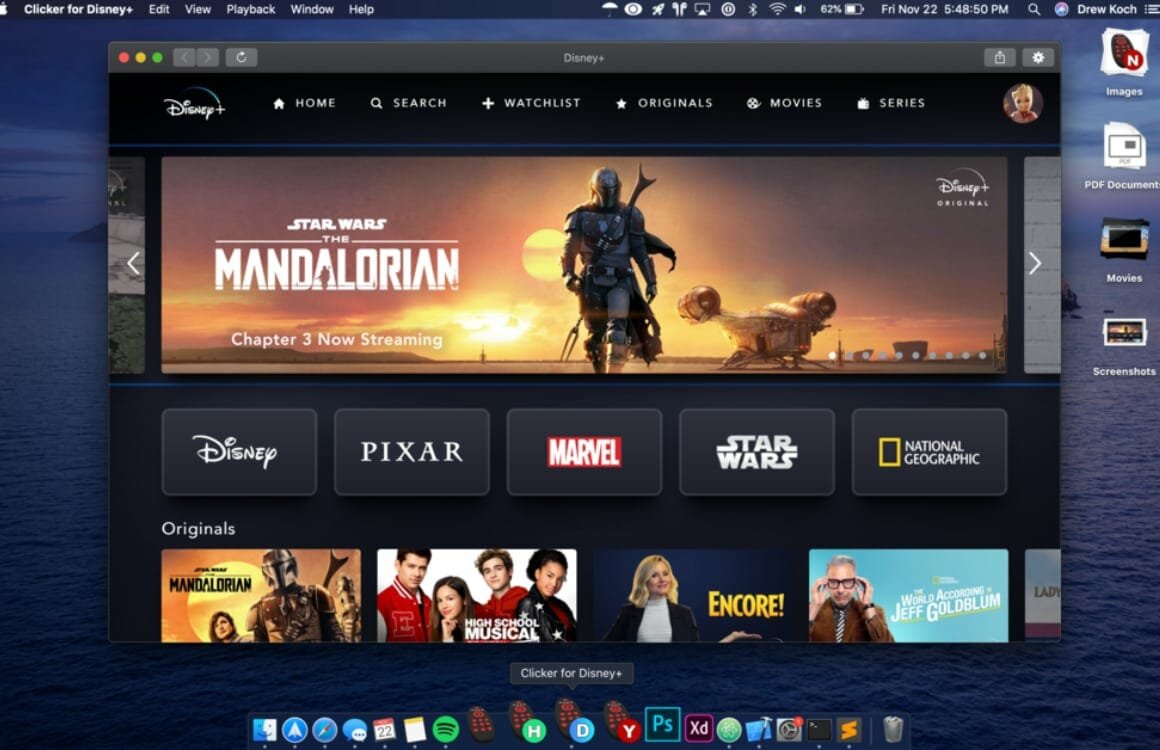
    Are you trying to watch Disney Plus on your Macbook but don’t know how? If so, you’re not alone. Many people are having the same issue, but don’t worry – there are solutions available. In this blog post, we’ll explore why you can’t watch Disney Plus on your Macbook, as well as what you can do to get around the problem. So, if you’ve been wondering why your Macbook won’t play Disney Plus, read on for the answers!

    Check for updates

    If you’re asking yourself Why can’t I watch Disney Plus on my Macbook? there are a few things to consider. Before you can stream Disney Plus on your Macbook, you’ll need to make sure your device meets the necessary system requirements. This includes having the latest macOS updates installed.

    It’s also important to check for any app updates for the Disney Plus streaming service. If there’s an update available, you should download and install it before attempting to stream Disney Plus on your Macbook.

    Lastly, if you’re still having trouble watching Disney Plus on your Macbook, try uninstalling the app and reinstalling it from the App Store. This should ensure that you have the most up-to-date version of the Disney Plus app.

    By following these steps, you should be able to watch Disney Plus on your Macbook without any issues.

    Try a different browser

    If you’re having trouble watching Disney Plus on your Macbook, the first thing you should try is a different browser. Different browsers can have slightly different capabilities, so if you’re using one that doesn’t allow access to Disney Plus, switching may help.

    For example, Safari is the browser that’s included with Macbook computers. However, Safari may not be able to support all of Disney Plus’ features. If you’re having difficulty, try downloading a different browser, such as Chrome or Firefox. Once you’ve downloaded and installed it, sign into your Disney Plus account and see if you’re able to watch your favorite movies and shows.

    If you’re still having issues after switching browsers, you may need to troubleshoot other aspects of your computer. Your operating system and internet connection may be preventing access to Disney Plus. In this case, you may want to check with Apple Support or your internet service provider for more help.

    With some tinkering and help from technical professionals, you should be able to watch Disney Plus on your Macbook in no time!

    Restart your computer:

    If you’re wondering why you can’t watch Disney Plus on your Macbook, the answer could be as simple as restarting your computer. When your computer is running for too long, it can become sluggish and even slow down programs that would normally run quickly. This can cause your computer to struggle with streaming services like Disney Plus, and the only way to fix it is to restart it.

    Restarting your computer clears any temporary files or caches that may have been causing the issue, and once you’ve done that, try opening Disney Plus again. If it still isn’t working, then there could be an underlying problem that requires further troubleshooting. In that case, it’s best to contact customer support from Disney Plus or your Macbook manufacturer for help.

    Check your internet connection:

    If you are wondering why you can’t watch Disney Plus on your Macbook, another thing to do is to check your internet connection. Your Macbook will need a stable, reliable internet connection to stream content from Disney Plus.

    If your internet connection is weak or unreliable, it may cause streaming issues and buffers, which could be the reason why you can’t watch Disney Plus. To test your internet connection, try streaming videos from other sites, such as YouTube or Netflix. If they play without issue, then the issue could be with Disney Plus.

    If your internet connection is strong and reliable, and you still can’t watch Disney Plus on your Macbook, then you should check to see if the latest version of your operating system is installed. Make sure that you’re running macOS 10.14 Mojave or later. If not, you’ll need to update your Macbook before you can access Disney Plus.

    Another issue that could prevent you from watching Disney Plus on your Macbook is an outdated web browser. Ensure that your web browser is up-to-date, and if not, download the latest version.

    If all else fails, contact Disney Plus customer service for assistance. They should be able to help you troubleshoot any problems and get you watching Disney Plus in no time!

    Delete cookies and cache:

    Many people have been asking Why can’t watch Disney Plus on my Macbook? The answer is quite simple. If you’re having trouble accessing Disney Plus, it’s most likely due to your computer’s browser cookies and cache.

    Cookies are files that are stored on your computer when you visit certain websites. The cache is similar to cookies but stores larger pieces of information like videos or audio files. If the files become outdated or corrupted, they can prevent the Disney Plus website from loading correctly.

    To fix this issue, you should delete the cookies and cache from your computer. To do this, open your web browser (Safari, Chrome, etc.) and go to the settings menu. Look for the option that says Clear Browsing Data and select it. Make sure to check both the boxes for Cookies and Cached Files and click Clear Data. Once that is complete, you should be able to access Disney Plus without any problems.

    If the problem persists after deleting the cookies and cache, try closing your browser completely and restarting your computer before attempting to access Disney Plus again.