Are you new to Adobe Premiere Pro? If so, this post is perfect for you! Here you’ll find 9 essential tips to help you get started with Adobe Premiere Pro. Whether you’re a beginner or a pro, these tips will help you become an expert in no time. With these tips, you’ll be able to quickly and easily edit your videos in Adobe Premiere Pro. So let’s get started and explore these Adobe Premiere Pro Tips for Beginners.
9 Essential Adobe Premiere Pro Tips for Beginners
Follow are the 9 Essential Adobe Premiere Pro Tips for Beginners:
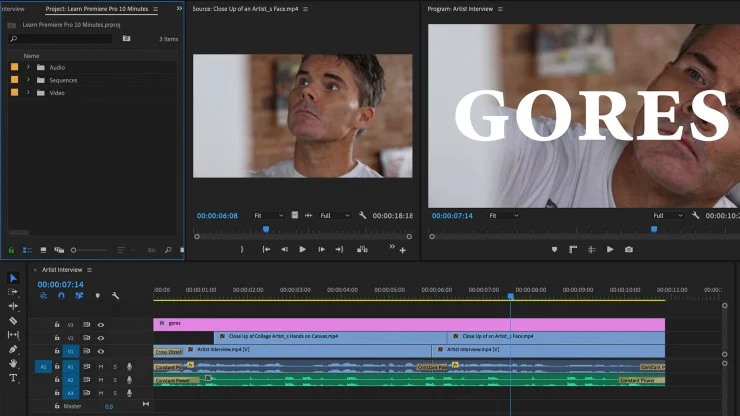
1) Get to Know the Interface
One of the most important Adobe Premiere Pro Tips for Beginners is to get to know the interface. The interface is where you will be creating, editing and producing your videos. It’s where you access all of the features that Premiere Pro has to offer. It’s a good idea to take some time to familiarize yourself with the different tabs, windows and panels that make up the interface. Learn what each tab does and how you can use it to create your video. Understanding the interface will help you quickly and efficiently edit your project.
2) Use the Keyboard Shortcuts
One of the best Adobe Premiere Pro Tips for Beginners is to make sure you are taking advantage of the keyboard shortcuts. Not only do they save time, but they can also make complex editing tasks a breeze. Once you get used to using them, you will find yourself working much faster. Here are some of the most commonly used shortcuts:
• Control + A = Select All
• Control + D = Deselect
• Command + K = Split Clip
• Command + T = Insert/Overwrite Edit
• Option + Left Arrow/Right Arrow = Move Selected Clip(s) Backward/Forward
• Option + Up Arrow/Down Arrow = Nudge Selected Clip(s) Backward/Forward
• Command + Shift + D = Select All Clips to the Right
• Command + Shift + H = Select All Clips on the Same Track
• Control + I = Ripple Trim
• Command + M = Toggle Mute/Unmute Audio Track
• Shift + M = Toggle Solo/Unsolo Audio Track
Using these keyboard shortcuts can help you work quickly and efficiently in Adobe Premiere Pro, making it easier for you to produce great content. So remember to take the time to practice these Adobe Premiere Pro tips for beginners and make them a part of your regular workflow.
3) Learn the Basic Editing Tools
For Adobe Premiere Pro beginners, it is essential to become familiar with the basic editing tools. The main tools available in Adobe Premiere Pro are: Cut, Slip, and Slide. The Cut tool is used to delete portions of a clip, while the Slip and Slide tools are used to adjust the timing of a clip. Additionally, you can use the Ripple Edit tool to move clips around without affecting the overall timeline. Using these tools, you can easily add new clips or rearrange existing ones to create your desired effect. By becoming familiar with these basic Adobe Premiere Pro Tips for Beginners, you will be able to quickly and easily edit your video project.
4) Understand Video and Audio Formats
When it comes to Adobe Premiere Pro Tips for Beginners, understanding video and audio formats is key. Knowing the various types of video and audio formats can make all the difference when editing with Adobe Premiere Pro. When importing media into your project, pay attention to the format type. Different formats have different characteristics, so it’s important to understand them in order to pick the right one for your project.
Common Video Formats are: AVI, MOV, MP4, and MPEG.
Common Audio Formats are: WAV, AIFF, MP3, and AAC.
It’s also important to consider the file size of the video and audio formats you are using. Bigger files will require more storage space on your hard drive and also lead to longer rendering times. Adobe Premiere Pro makes it easy to preview your videos in different formats so you can get an idea of how they will look when rendered.
In summary, understanding video and audio formats is a critical part of Adobe Premiere Pro Tips for Beginners. Familiarizing yourself with common video and audio formats and knowing the characteristics of each can save you time and help you create better projects with Adobe Premiere Pro.
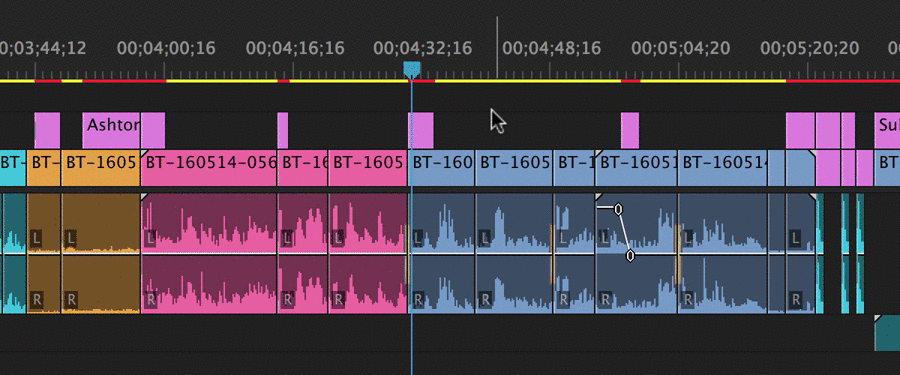
5) Trim and Split Clips
Being able to trim and split clips is an important skill for any video editor, and Adobe Premiere Pro Tips for Beginners are no different. To trim a clip, simply select it in the timeline and drag one of the edges to shorten or lengthen the clip. Splitting a clip is similarly easy; just select it in the timeline and press “S” on your keyboard. This will split the clip into two separate clips. You can then move, delete, or adjust each clip individually. If you want to get more precise with your splits, you can zoom in and drag the edges of the clip to exactly where you want them.
6) Adjust Clip Speed
One of the Adobe Premiere Pro tips for beginners is learning how to adjust clip speed. Clip speed is the rate at which a video plays back, and can be adjusted to help create a certain mood or effect. For example, if you want to make a scene look slow-motion, you can speed it up to half the original speed.
To adjust the speed of a clip in Adobe Premiere Pro, right-click on it and select “Speed/Duration” from the drop-down menu. Then, drag the clip out to the desired length, and use the “Speed” setting to adjust the playback speed. You can also use the “Ripple Edit” tool to extend or shorten clips to match the length of other clips in your timeline. This tool will automatically adjust the speed of all following clips so that they are in sync with the rest of your project.
By using these simple Adobe Premiere Pro tips for beginners, you can easily adjust the speed of any clip in your project and make sure everything is perfectly in sync.
7) Add Transitions
Adding transitions to your Adobe Premiere Pro project is an essential part of creating a professional-looking video. Transitions can help to smooth the transition between two clips, adding energy and excitement to your editing process. Adobe Premiere Pro has a wide selection of transition effects to choose from. To add a transition, select the transition you want to use and drag it between two clips in the timeline. You can adjust the duration of the transition in the effect controls panel. By experimenting with different transitions, you can create a unique look for your video. These Adobe Premiere Pro tips for beginners will help you get the hang of adding transitions quickly and easily.
8) Add Titles and Text
Adding titles and text to your video can help engage your audience and provide the necessary information. With Adobe Premiere Pro, you have a wide range of tools at your disposal to create professional-looking titles and text effects. To add titles and text to your project, select the Titles tab in the Project panel, then drag the title you want to add onto the timeline. Once it is on the timeline, you can adjust the font, color, size, position, and many other settings. You can also create motion graphics by animating the position, scale, rotation, and other properties of your titles. For more Adobe Premiere Pro Tips for Beginners, use the Type tool in the Program monitor to add text directly to your timeline. Select the Type tool, type in your text, adjust the font and other settings, then drag and drop it into the timeline. With Adobe Premiere Pro, you have all the tools you need to create high-quality titles and text effects for your videos.
9) Export Your Video
When your video is ready to be shared with the world, you’ll need to export it. Exporting your video with Adobe Premiere Pro can be a bit daunting at first, but with these Adobe Premiere Pro tips for beginners, you’ll be able to master this skill in no time!
First, click on the “File” menu and then select “Export”. From there, you’ll be presented with a wide range of export options, including the format you want to save your video as. Depending on what type of device you’re exporting to (e.g. a laptop or a smartphone) and what you intend to do with the video (e.g. share it on social media or upload it to YouTube), you should choose the appropriate format for your project.
Once you’ve chosen the format for your video, the next step is to adjust the bitrate settings for your video file. Bitrate is a measure of how much data is used to store a single second of video and is directly related to video quality and file size. Generally speaking, higher bitrates will result in better video quality, but also larger file sizes. You can experiment with different bitrates and decide which one works best for your project.
Finally, click “Export” and Adobe Premiere Pro will create an output file according to your settings. You can then share the video file or upload it to your desired platform.
By following these Adobe Premiere Pro tips for beginners, you’ll be well on your way to becoming a master editor and creating professional-looking videos in no time!
Conclusion
As a beginner, Adobe Premiere Pro can be intimidating, but with the right tips and tricks, you can create amazing videos. The nine tips discussed above are some of the essential Adobe Premiere Pro tips for beginners, allowing them to master the basics of video editing and create stunning projects. With practice and perseverance, anyone can become an experienced Adobe Premiere Pro user. Start by familiarizing yourself with the interface and keyboard shortcuts, then progress to learning more advanced editing tools. Mastering these Adobe Premiere Pro tips for beginners will get you well on your way to becoming an expert in no time.